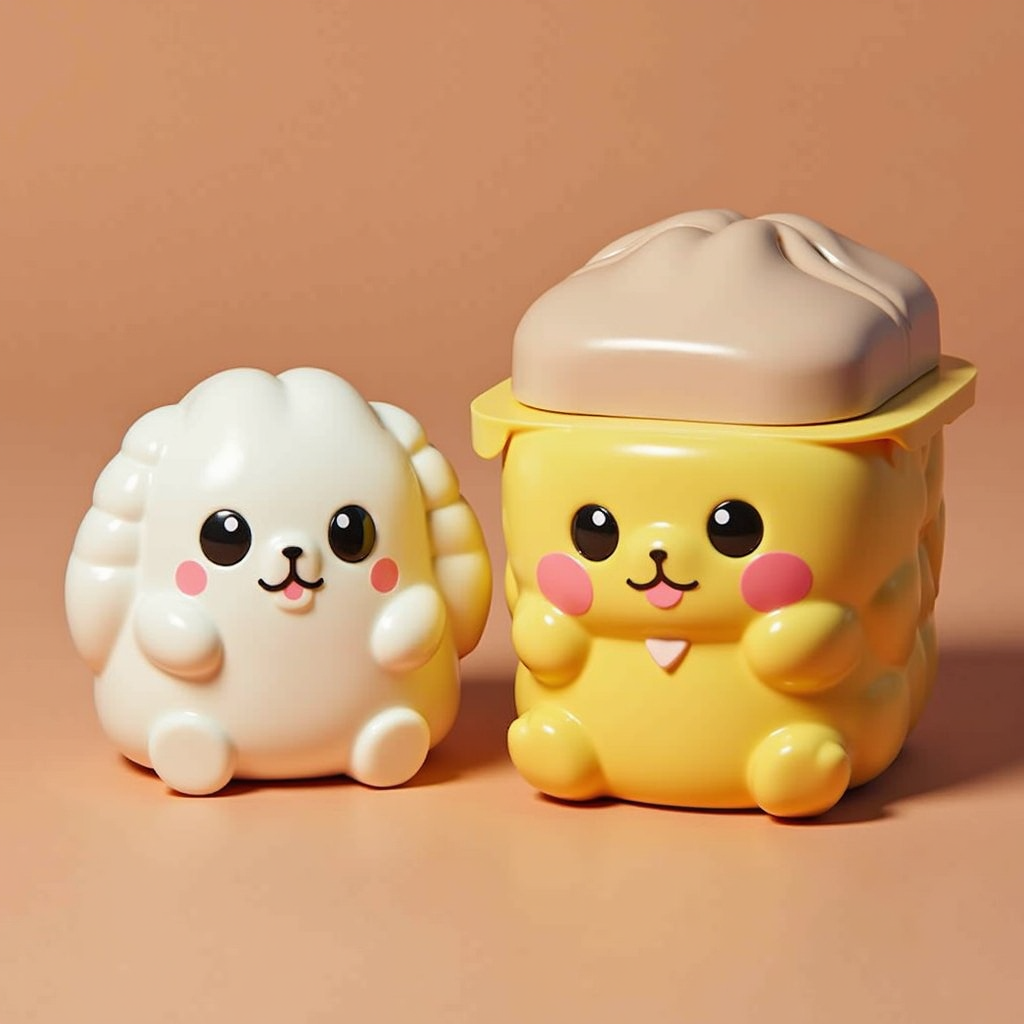
Blind box culture has become popular all over the world in recent years. Whether it is collecting toys, gift packaging, or brand promotion, it can be seen. The mystery and creativity of blind boxes have attracted many consumers, and making your own blind box printable pattern can not only save costs, but also give a unique personalized element. This article will explain in detail the design and production of blind box printable patterns.
What is a blind box printable pattern?
Blind box printable patterns are templates designed specifically for blind box packaging that can be directly output by a printer. This design is usually suitable for DIY gift packaging, brand promotion, or creative display of special events. The advantages of blind box printable patterns mainly include:
1. Cost saving: No need to buy expensive packaging materials, it can be completed with ordinary printing equipment.
2. Personalized customization: Freely design according to the theme and needs to create a unique packaging style.
3. Environmentally friendly choice: Use recyclable paper or materials, which is in line with the current green consumption trend.
Tools and materials needed to make printable patterns for blind boxes
If you want to make printable patterns for blind boxes, the following tools and materials are indispensable:
Tools relied on for design”.
1. Design tools:
Adobe Illustrator or Photoshop, both of which are suitable for advanced designers.
Canva is extremely friendly and easy to operate for beginners. Its interface is simple and intuitive, and its functions are easy to use, and you can easily master it without complicated tutorials. Many templates and materials are readily available, which provides great convenience for beginners to start their creative journey.
2. Printing equipment:
High-quality printers, laser printers are the first choice. It can ensure bright colors and clear edges, which is a good choice.
3. Material selection:
Paper type: Thick cardboard or waterproof paper is suitable for blind box packaging.
Adhesive: Strong glue or double-sided tape, used to assemble blind boxes.
4. Auxiliary tools:
Scissors, paper cutters and rulers are used to help with precise cutting.
Proofing tools are used to check the printing effect.
Step 1: Clarify the design goals
Before starting the design, you need to clarify the following points:
1. Purpose: Is it for commercial promotion or DIY gift packaging?
2. Blind box type: Is it designed for toys, snacks, or stationery products?
3. Style selection: The design style depends on the target audience, for example, bright colors are suitable for children’s themes, while simple designs are suitable for high-end brands.
Step 2: Choose the right design software
Choose the right tool according to your design level:
Beginners can choose Canva, which has simple drag-and-drop functions and a rich template library, making it easy to get started quickly, so it is recommended.
Professional designers know that Adobe Illustrator has more powerful vector design functions that are enough to cope with complex needs.
In the software, you can find many ready-made templates for reference, or you can create your own design from scratch.
Step 3: Draw the blind box structure
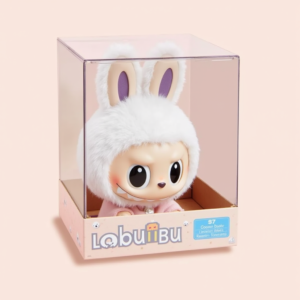
1. Determine the size and shape of the blind box: Common shapes are cubes and cuboids. You need to adjust the size according to the packaging content.
2. Draw the unfolded pattern of the box.
Use design software to draw a complete unfolded diagram, including the bottom, top and sides.
Make sure all edges are precisely aligned for subsequent assembly.
3.Add fold lines: mark the folded and cut parts, and use dotted lines to distinguish them.
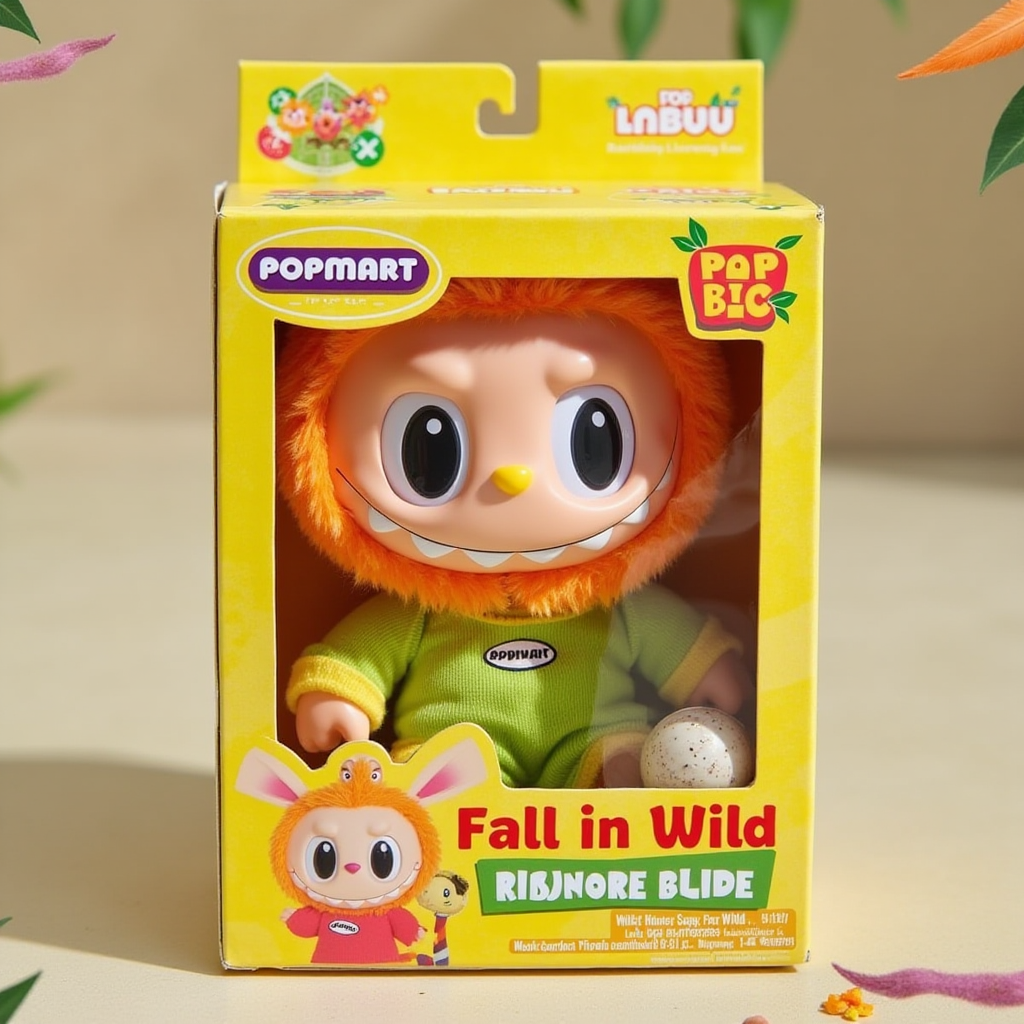
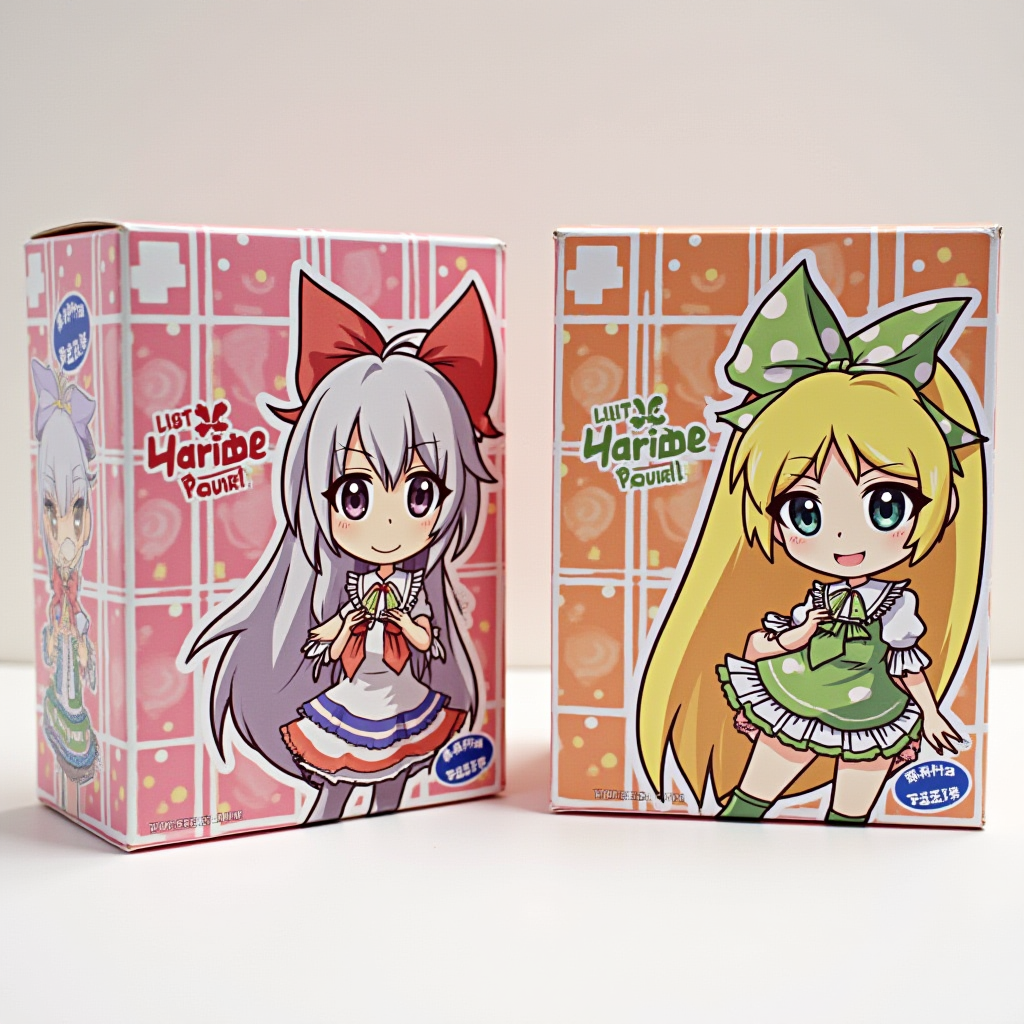
Step 4: Add personalized elements
1.Insert patterns and text.
Add brand logos, theme illustrations or interesting phrases.
Maintain the overall coordination of the design to prevent the pattern from becoming too complicated.
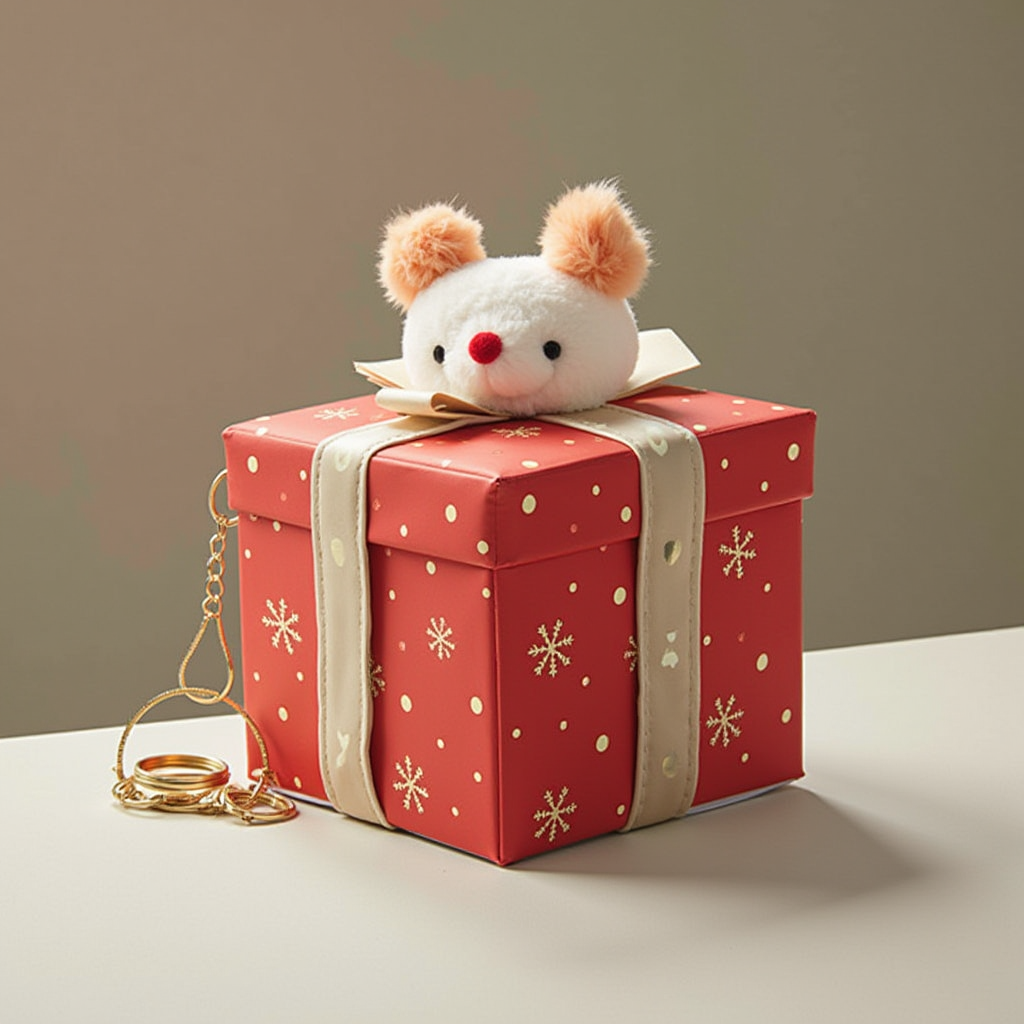
2. Choose a color scheme
Bright colors, such as yellow and pink, are suitable for children’s products.
Simple style complements high-end products, such as black and white or metallic colors.
To improve the interactive experience, we can start from many aspects. Optimize the interactive interface to make it more simple and intuitive; enrich the interactive form and add fun; pay attention to user feedback and make timely adjustments and optimizations. In this way, the interactive experience can be effectively improved to meet user needs.
3. Enhance interactive experience:
Incorporate hidden elements such as QR codes and scratch cards into the design to enhance user expectations.
Step 5: Print and assemble
1. Test the printing results.
Print a sample for testing to ensure that the color, size and design details meet expectations.
If any problems are found, the design file needs to be adjusted in time.
- Cutting and folding: “Cutting and folding” are simple but profound words. “Cutting” is like carefully selecting things, and “folding” is like cleverly integrating things. Both contain unique interest in handling and shaping things. Use a paper cutter or scissors to cut along the cutting line.
Fold the blind box structure along the marked folding lines and then fix it with glue.
3. Assembly is complete.
Check whether all seams are well fitted.
Put in goods or gifts to test the load-bearing and stability of the finished product.
Design tips and precautions
1. Simple design: Information overload will reduce the consumer’s visual experience.
2. Image quality: Make sure to use high-resolution materials to avoid blur or distortion when printing.
3. Test the user experience: From opening the package to disassembling the blind box, make sure every link is convenient for users to operate.
4. Green design: Use environmentally friendly materials and indicate recyclable information on the packaging.
Actual case sharing
An e-commerce brand attracted a large number of users to participate in the launch of new products through personalized blind box printable patterns. The brand uses bright colors and hidden coupons to make blind boxes a hot topic on social media. At the same time, the simple production process of DIY blind boxes also attracts consumers to try to customize their own versions. This unique experience effectively improves brand loyalty and repurchase rate.
Blind box printable patterns are not only the fun of DIY creators, but also an important tool for brand promotion and improving user experience. From clarifying design goals to printing and assembly, the whole process is simple and creative. Start designing now and create your own personalized blind box!